Deploying an application with AWS
The AWS CodeDeploy service is primarily used to deploy code to virtual machines that are created and managed by Amazon EC2. The service automates the code deployment process to AWS or any other on-premise server.
Let’s have a look at the steps involved in the deployment process:
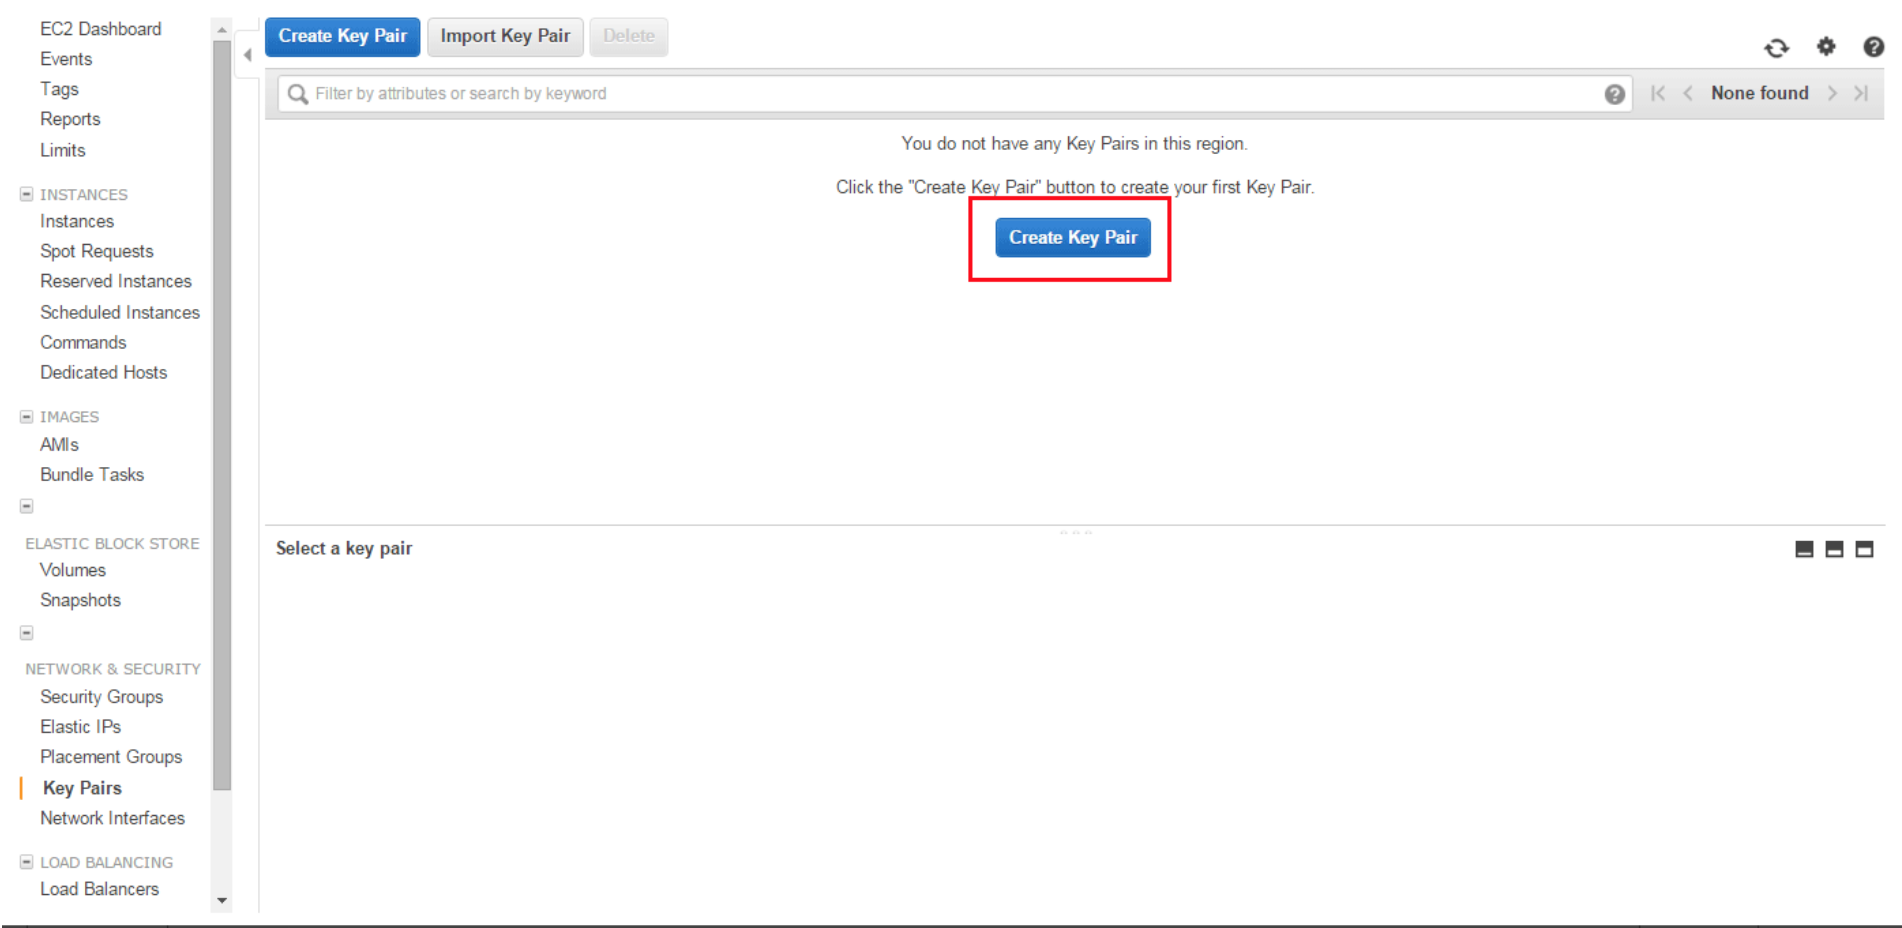
Step 1 - Create a key pair
In order to access the virtual machine with Amazon EC2, a key pair needs to be created. If a key pair already exists, skip this step.
Once you’ve signed up with AWS, navigate to the AWS Management Console and click on Create Key Pair.
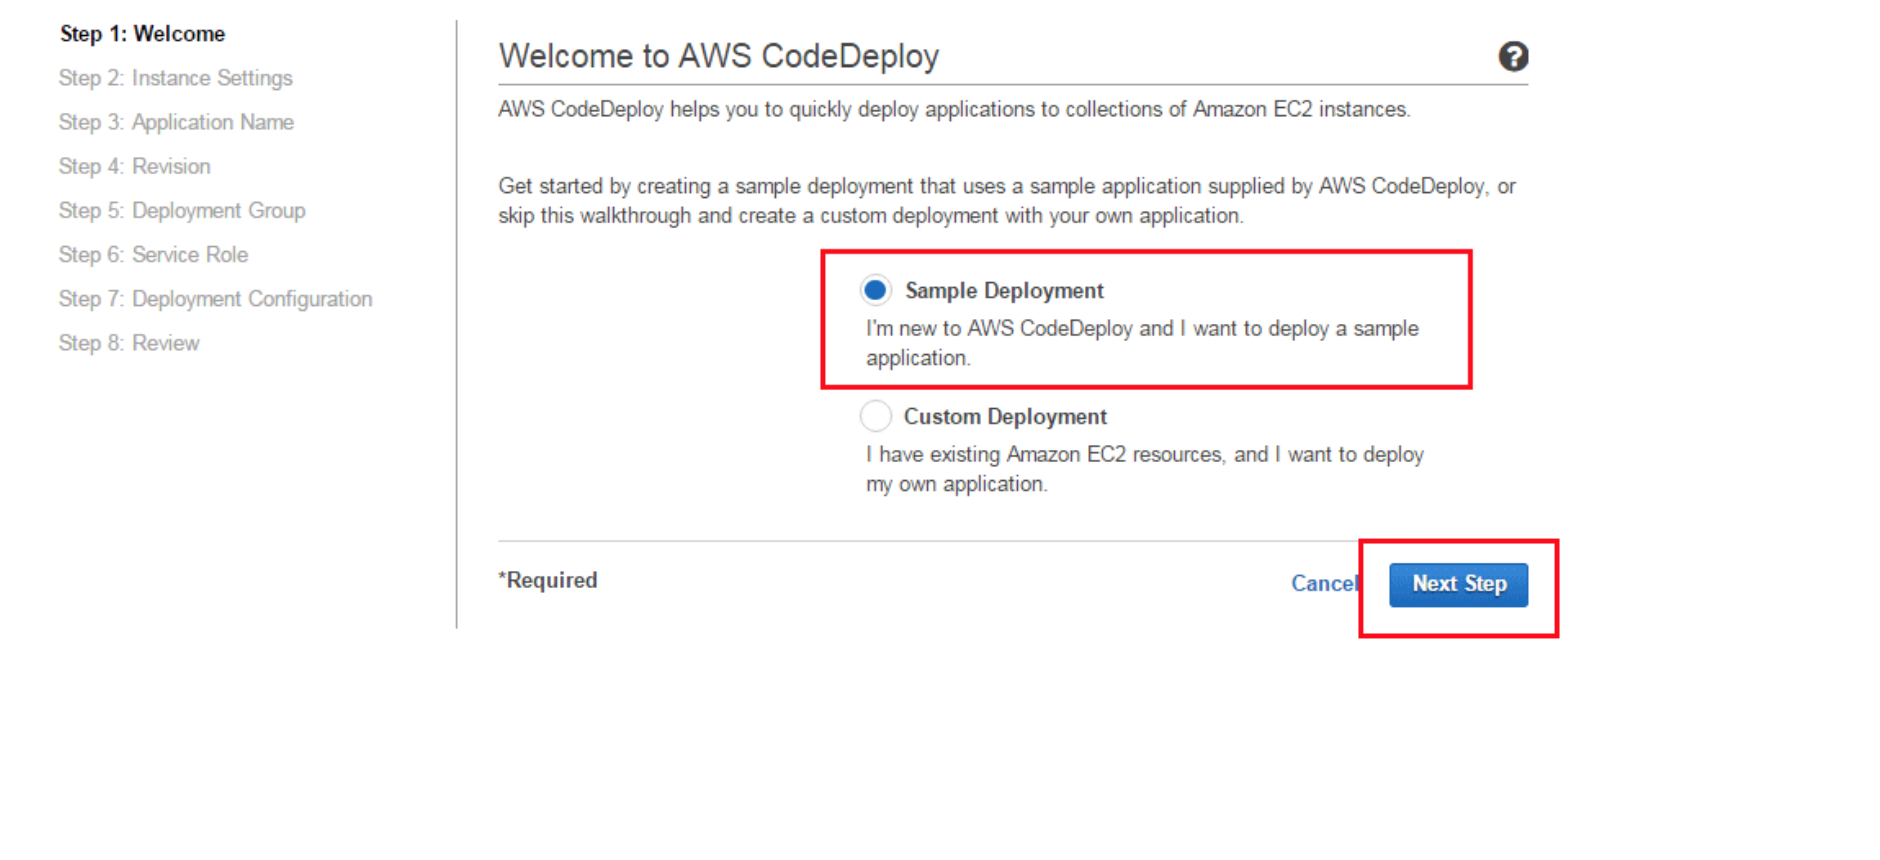
Step 2 - Code Deploy console
Click the home icon on the upper left corner of the AWS Management Console. Locate CodeDeploy under Developer Tools, click it to open the AWS CodeDeploy Console, and then click on Get Started Now.
In the new window, select Sample Deployment and proceed.
Step 3 - Launch Virtual Machine
In this step, EC2 instances will be launched (AKA virtual machines). Fill in the various options to configure your EC2 instance settings.

Click Launch Instances.
Step 4 - Application Review
Application names are assigned during code deployments to ensure that correct deployment components are referenced.
In the next step, you will be required to name your application and review certain information associated with the application that includes revision type, location, and description.
Once you’re done, click on Next Step.
Step 5 - Deployment Group Creation
A deployment group contains individually tagged instances to which CodeDeploy deploys revision.
In this step, specify the Amazon EC2 instances to deploy by entering the corresponding key-value pair (should automatically be filled using the information entered in Step 3).

The Instances column displays the number of EC2 instances that the code will be deployed to.
Step 6 - Service Role
Here, a role will be created for an AWS service giving AWS CodeDeploy the permission to deploy the code.
Create a new service role if you do not have an existing one.
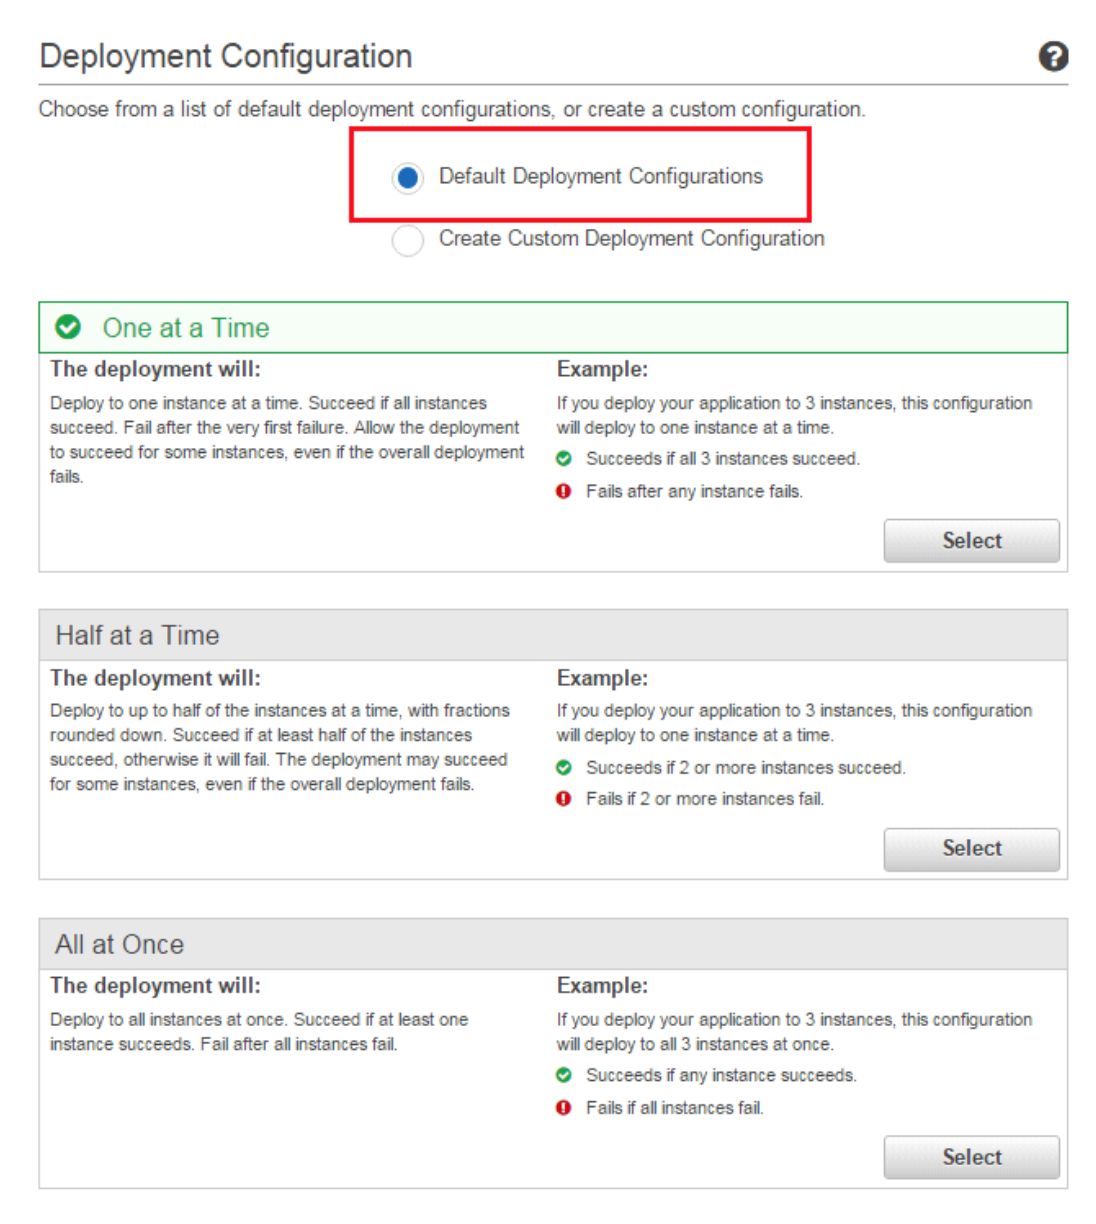
Step 7 - Deployment
Finally, it is time to set deployment configurations and initiate deployment of the EC2 instances.
The deployment configuration lets you determine how many instances to simultaneously deploy your application revisions to, and describes the success and failure conditions for the deployment.
It is recommended to choose the Default Deployment Configuration.
At the next step, you get to review the details of the deployment and then hit Deploy.
Once all the EC2 instances are up, click the instance ID of any instance to navigate to the dashboard where you can view the instance.
Step 8 - Verification
To verify that the application deployed successfully, open the address in the public DNS field in the bottom panel in a browser to see your live application.
RELATED TAGS
