How to start your Django project
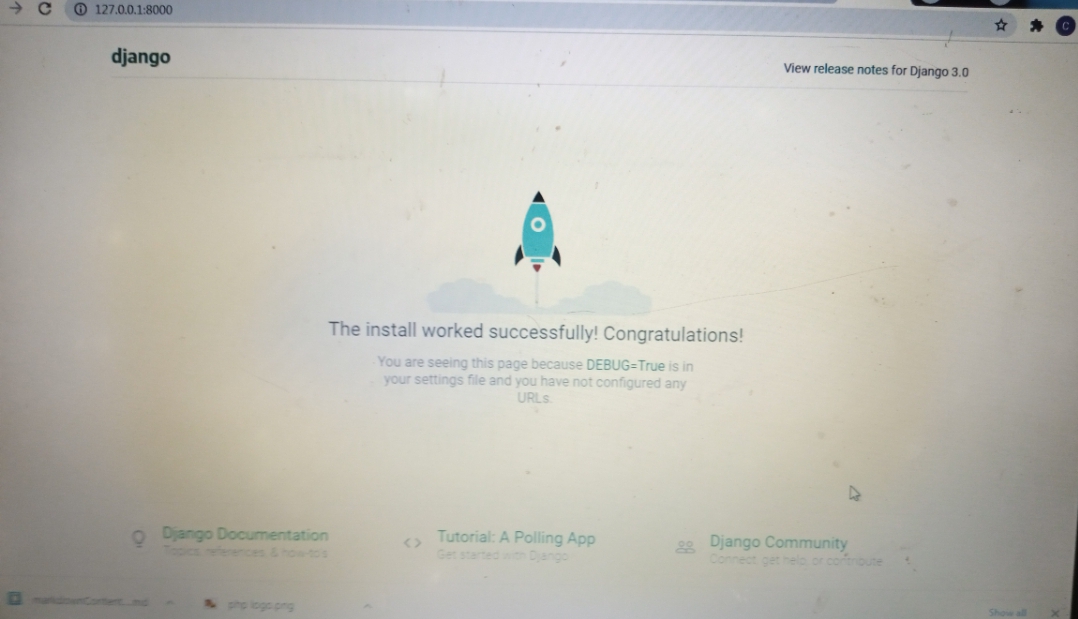
Web development with Python Django is an exciting experience. As a beginner, though, I can vividly remember how challenging it was to set up my first ever Django project. Even getting the popular Django welcome page (shown below) was a “eureka” moment for me. In this shot, I will show you simple steps to do this very easily.
Step 1
-
Have Python up and running on your machine and your favorite editor (be it Pycharm or VScode, either is fine).
-
Now make sure you have pip installed by executing the following command in the cmd:
python get-pip.py
- To verify installation, use this command:
pip help
Step 2
-
Next, we create our virtual environment. We will call it
djangoenv. Remember to remain in this environment as long as we keep working on our project. This is a good practice that keeps our project dependencies away from other projects. -
In our cmd, let’s execute the following:
python -m venv desktop/djangoenv
-
This creates
djangoenv, our virtual environment on the desktop. -
To activate it and get it set to work, we change the directory to desktop and enter this command:
djangoenv\Source\activate.bat
- Please keep in mind that everything else we do from now on will be in this virtual environment.
Step 3
- We go straight to downloading and installing Django from the internet using our cmd:
pip install django
-
This will install the latest stable version of Django. If you want a different one, indicate this by attaching the version number of interest to the Django command.
-
You can confirm the installation using this command.
django-admin --version
Step 4
- With Django up and running in our virtual environment, let’s start a project called
begin:
django-admin startproject begin
- This will create a
beginfolder and themanage.pyfile.
Step 5
- Django supports components reuse and tries to abstract functionalities as much as possible. That is why a single project can have several apps carrying out separate functions.
- Let’s call ours
mini begin. - We will create it at this point:
python manage.py startapp minibegin
Step 6
- The project and app folder created so far have different files that you will set up as required. But for now, we have completed our Django project.
- You can now go straight into coding your site.
- But first, let’s get that Django custom welcome webpage which shows a successful installation setup.
- Enter your cmd once more to check this. You can use your code editor’s terminal and execute the following command:
python manage.py runserver
- This starts the development server. Follow the link provided by the command in your cmd or terminal by holding down
ctrland clicking on the link to see the Django custom welcome page.
There you have it. Try to create more projects and apps to get used to the whole process.
RELATED TAGS
CONTRIBUTOR
