Core Data: Persistence in Swift UI
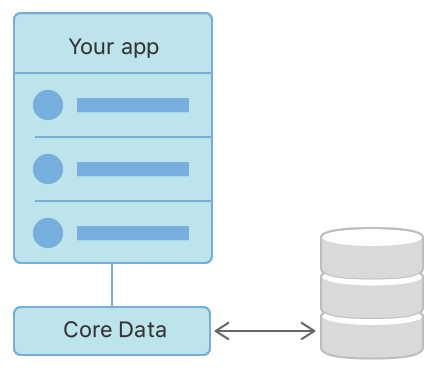
Core Data is a persistence framework by Apple that is used for all Apple operating system-based applications from iOS, iPadOS, watchOS, macOS, to tvOS.
We can use Core Data to save our application, save data offline, and cache it as well.
You can read more about Core Data on Apple’s Developer Documentation.

Setting up a data model
-
Create a Swift UI project, and remember to check the Use Core Data checkbox.
-
In the project navigator, you can find the
.xcdatamodeldfile that Xcode created for us; this is our database model. The.xcdatamodeldfile works like a database with entities, classes, and attributes. -
Open the
.xcdatamodeldfile and add a new entity by clicking on theAdd Entityoption from the bottom. You can rename it if you’d like. -
Now, add attributes to your data model. You also have to set the attribute type, such as
StringorInteger. For example, you can create an attribute called Name with type String.
Now, the created Data Model entity will be your application’s data model where everything is be stored and saved.
Setting up the PersistenceController
- Open up the
Persistence.swiftfile. This Swift file was created automatically while checking the Use Core Data checkbox. - Within the PersistenceController, you can find a for loop with an item. Replace the item with your entity name from
.xcdatamodeld, tap into its attributes, and set some dummy values.
Example:
Consider the .xcdatamodeld entity named “values,” with attributes name and age.
The replaced code will be:
for _ in 0..<10 {
 let newValue = values(context: viewContext)
  newValue.name = "Jane Doe"
  newValue.age = 20
}
-
Now, within the
NSPersistentContainer, rename thenameparameter with your entity name. -
Our Persistence is now ready and set up. If you use it to create a Swift UI preview, you will be able to see the dummy data from the PersistenceController.
Before we wind up Persistence, there is one more thing to do:
Open up the ContentView.swift file and add the .environment modifier to the view.
ContentView().environment(\.managedObjectContext,persistenceController.container.viewContext)
The .environment modifier feeds the managedObjectContext key to the ContentView(). This is done right before the view is launched, so everything is initialized before starting up.
Using managedObjectContext, our app can now perform CRUD operations with our Core Data and .xcdatamodeld.
Data model customization
-
Open
.xcdatamodeldand click on the entity. -
From the Editor menu, choose to create a NSManagedObject subclass, select the entity group from the drop-down, and hit done.
-
This will automatically create two files: one that holds the class and another that has the properties of a class.
-
Now that our class is defined, we can go back to our
.xcdatamodeldand set Codegen toManual/None.
Setting up SwiftUI
Now that everything is done, you can go ahead and create your user interface. Let’s create a button that will save the entire data into our Core Data model, below:
Button(action: {
    let newValue = values(context: viewContext)
    newValue.name = name
    newValue.age = age

}) {
    Text("Add Order")
}
You can retrieve values from CoreData using:
var details: FetchedResults<values>
Then, display these using a List in SwiftUI.
Although Core Data does sound a little bit troublesome, it’s really simple to use and work with.