How to build an image preview using JavaScript FileReader
What is image preview?
Image preview, in this context, means displaying an image on a website that you have selected from your computer, usually in order to upload it.
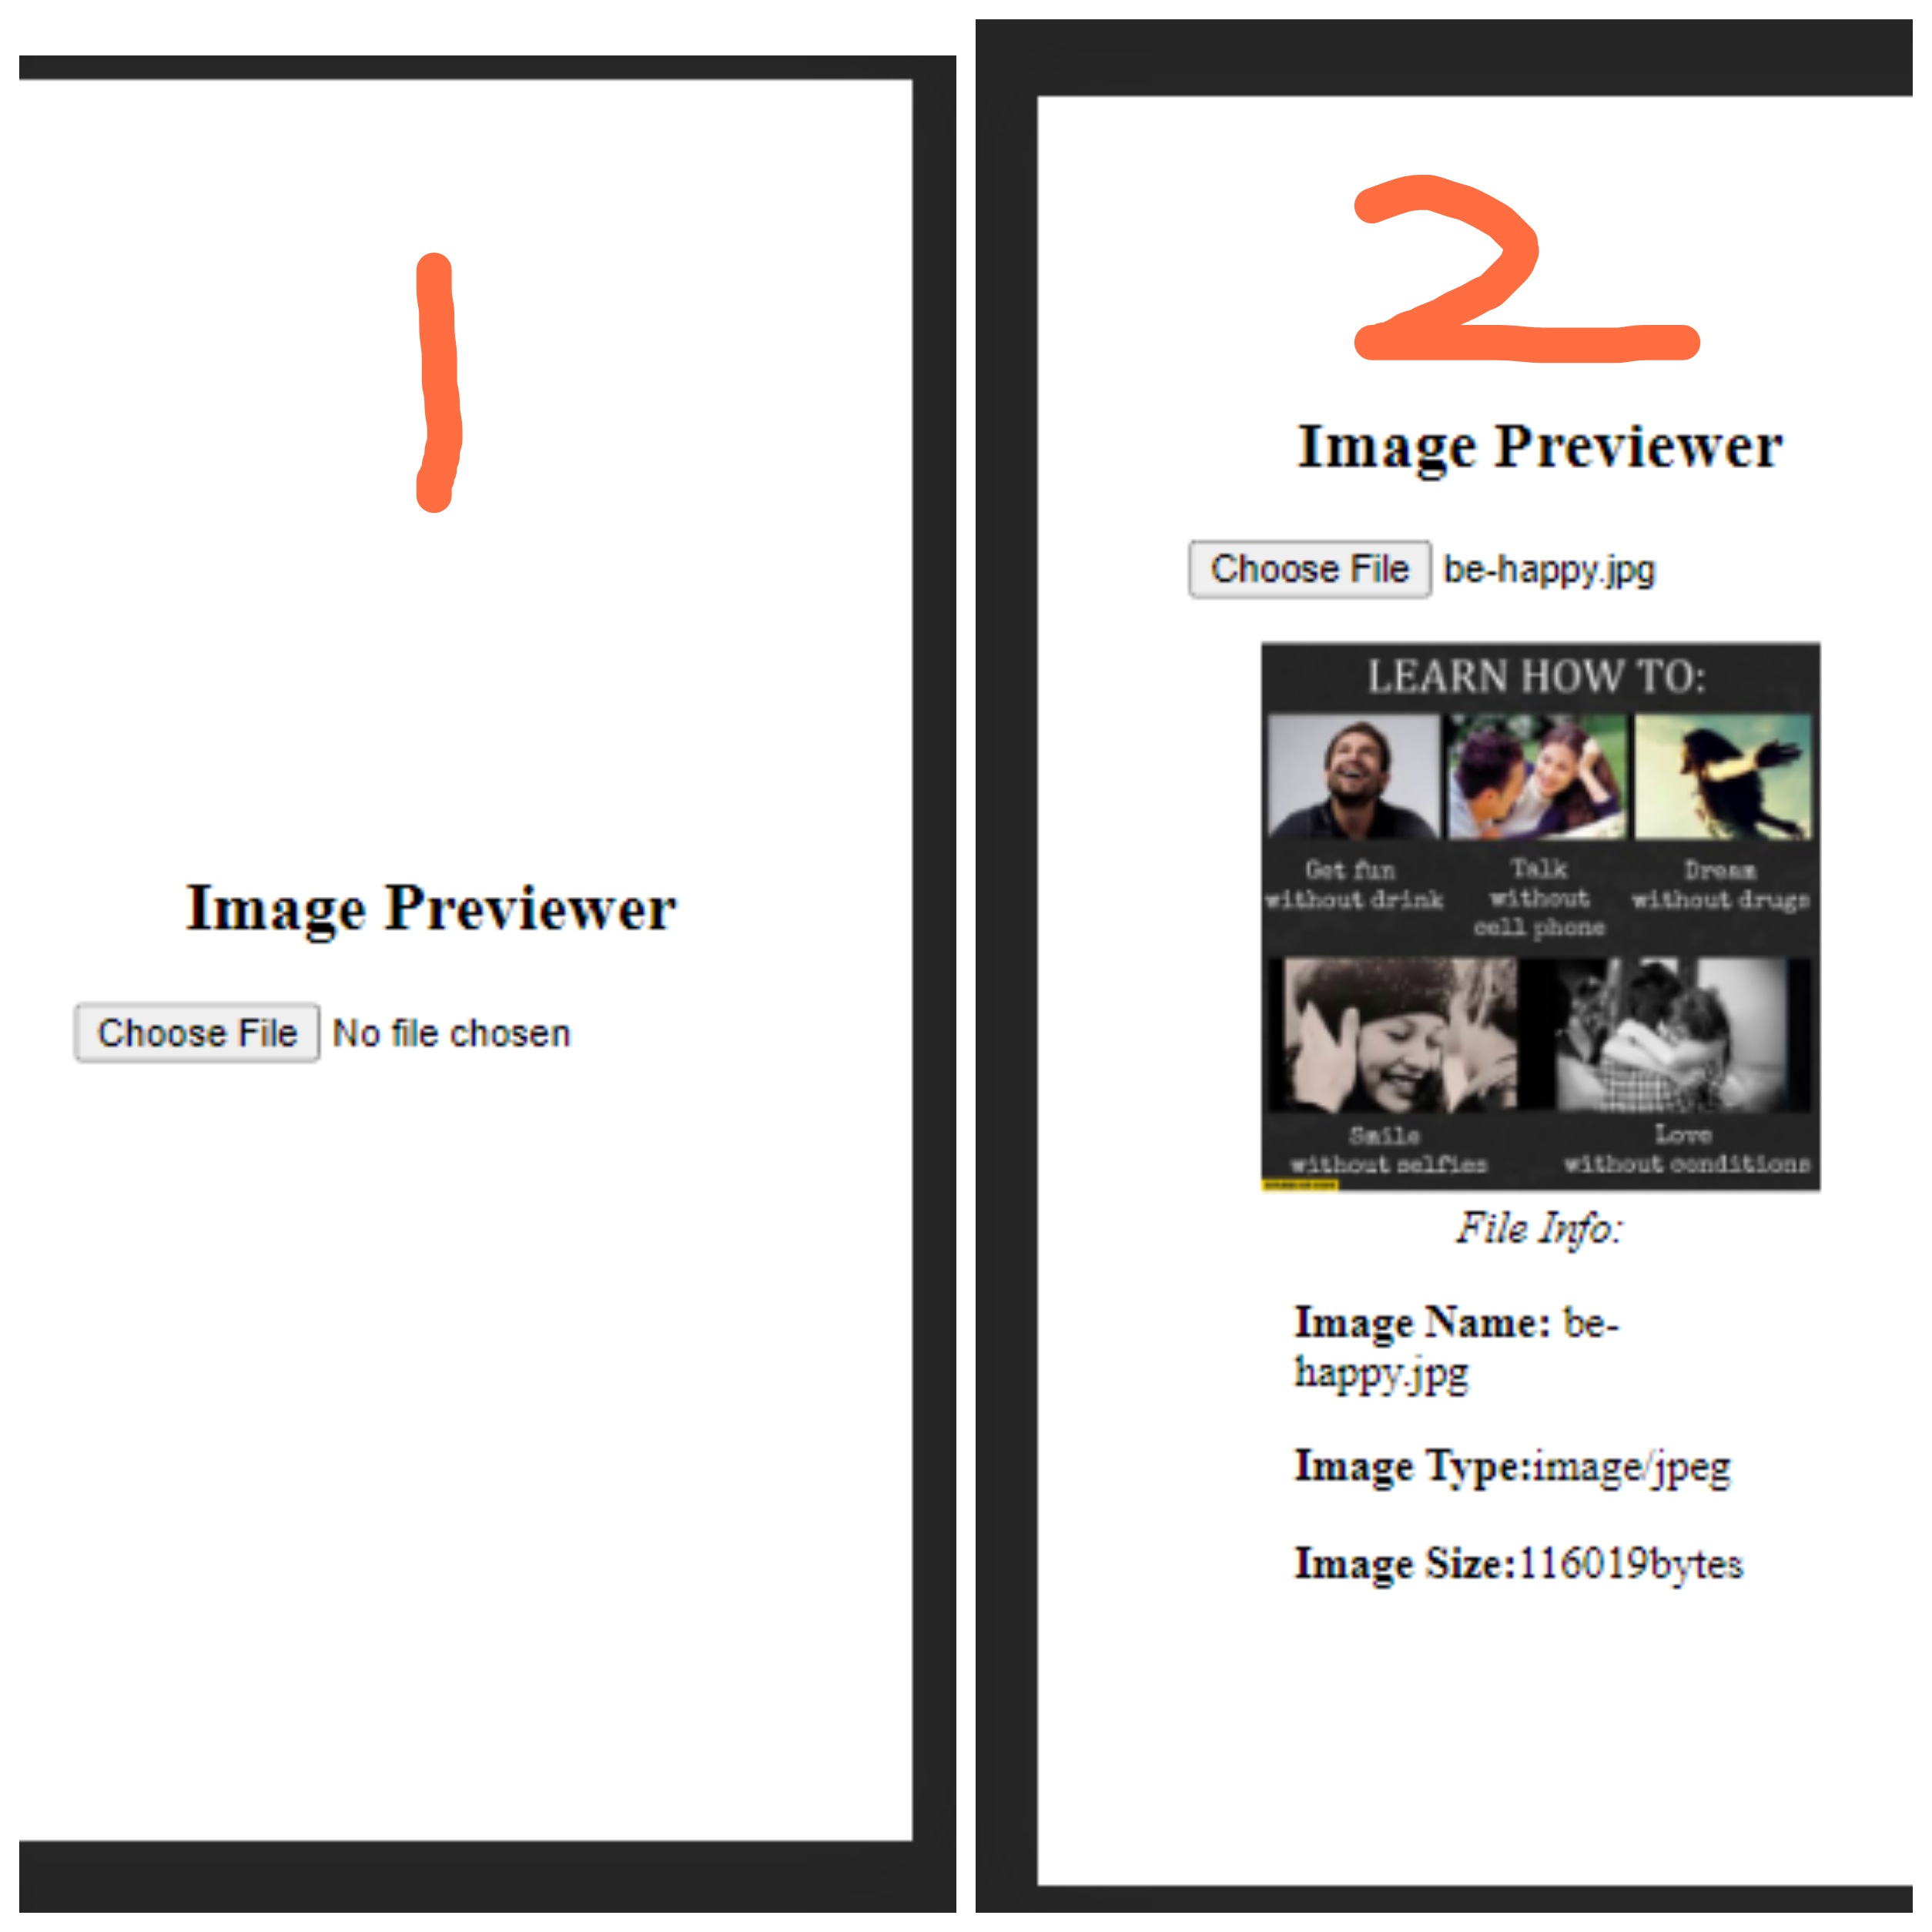
Take a look at the images below for a better understanding of image preview:
The image above is a screenshot of the example of the implementation of what we will be creating. The one labeled 1 is the first step to selecting the image, and the one labeled 2 is when the image is selected and previewed.
Three steps to previewing an image
1. Using .files[0] on the input element from the DOM
document.querySelector("input[file]")
Grabbing the input file with the .file[0] allows you to get the file from the array of files, and gets you some of the properties of the image or file such as the:
- name of file
- size of file
- types of file
2. Using the FileReader() constructor function
Here, we create an instance of the FileReader.
Then, we pass the file we have grabbed from the DOM to the FileReader() instance.
const reader = new FileReader();
And lastly, we use: `
reader.readAsDataURL(fileFromDOM)
This will convert the file to a Base 64 encoding, which will allow us to move ahead to preview the image.
3. Using the onload event and .result property of the FileReader() instance
Now that we have passed the image from the DOM, we can proceed to preview it. One way to do this is to use the onload event on the reader.
Lastly, we display the image on the webpage using the .result property from the reader.
const reader = new FileReader();// CONVERTS Image TO BASE 64reader.readAsDataURL(imgD);reader.addEventListener("load", function () {// PREVIEWING THE IMAGE USING THE .resultimagePreview.src = reader.result;})
Code
Conclusion
We have seen how to preview an image using the .file[0] on the input element from the DOM. This will help us get the details of the image.
Lastly, we use the FileReader() constructor function to create an instance that will convert this image to a base 64 format, and then allow us to display it on the DOM.

