How to run different versions of Node.js on a Windows OS
Why you might need different versions of Node.js for time travel
As a developer, there may come a point where you may need to work on a project that runs an older version of NodeJs. It could also be that a certain project needs to be updated based on a recent version of NodeJs. Therefore, having the stride to run or switch between multiple or different versions of NodeJs smoothly is perhaps the best option out there.
NVS or NVM?
We are only looking at the Windows Operating System at the moment, so we shall be looking at Node Version Switcher (NVS). The Node Version Manager (NVM), on the other hand is for Linux or MacOS users. However, they are used to accomplish the same thing.
Let’s get started
- First, head ove to this repository nvs msi download to install the msi of nvs in this repository on github.
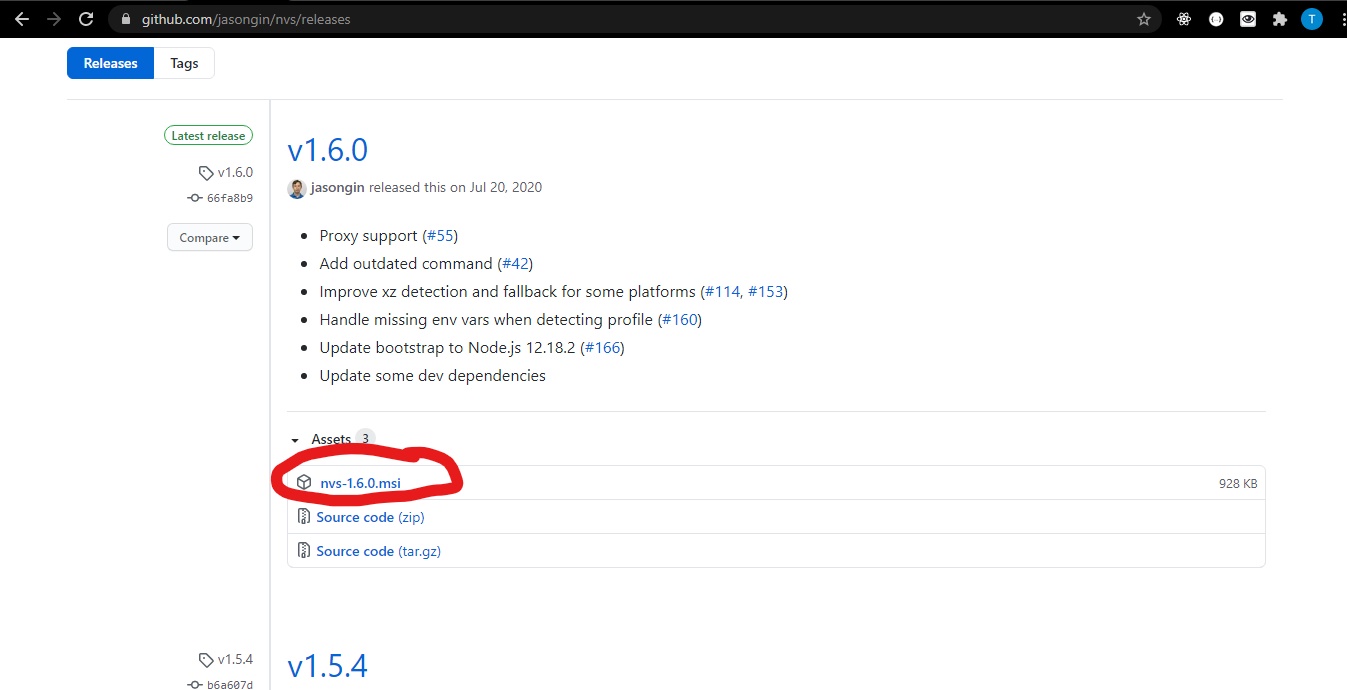
Click on the msi, as circled above, to begin the download.
NOTE: When writing this, the available version of nvs is 1.6.0.
-
Once the download is finished, click install.
-
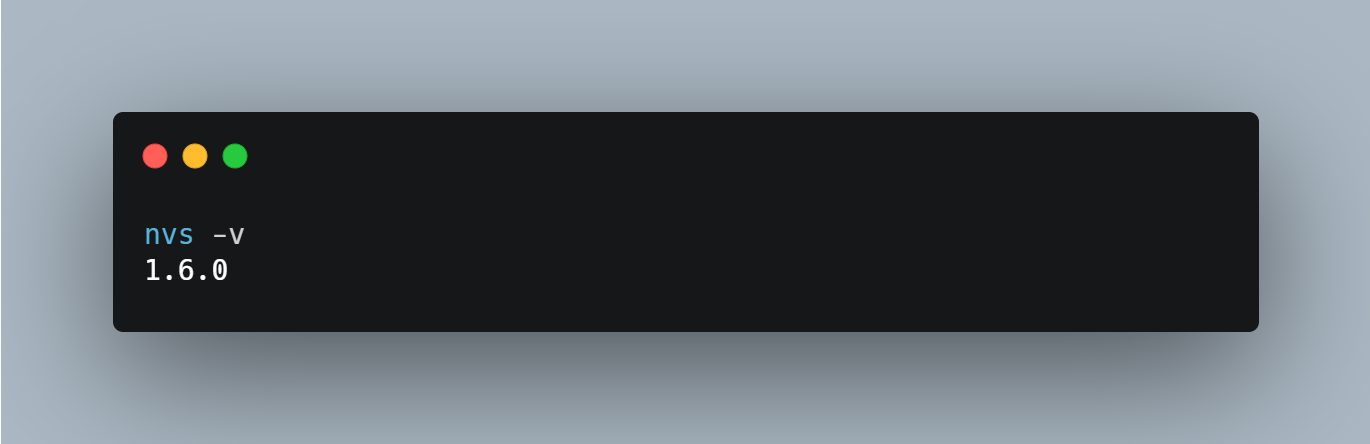
Check if nvs is properly installed by typing:
How to install any Node version
To install any version of Node, type nvs menu, nvs, or nvs add [version number eg. 16] for interactive display.
I will type nvs menu.
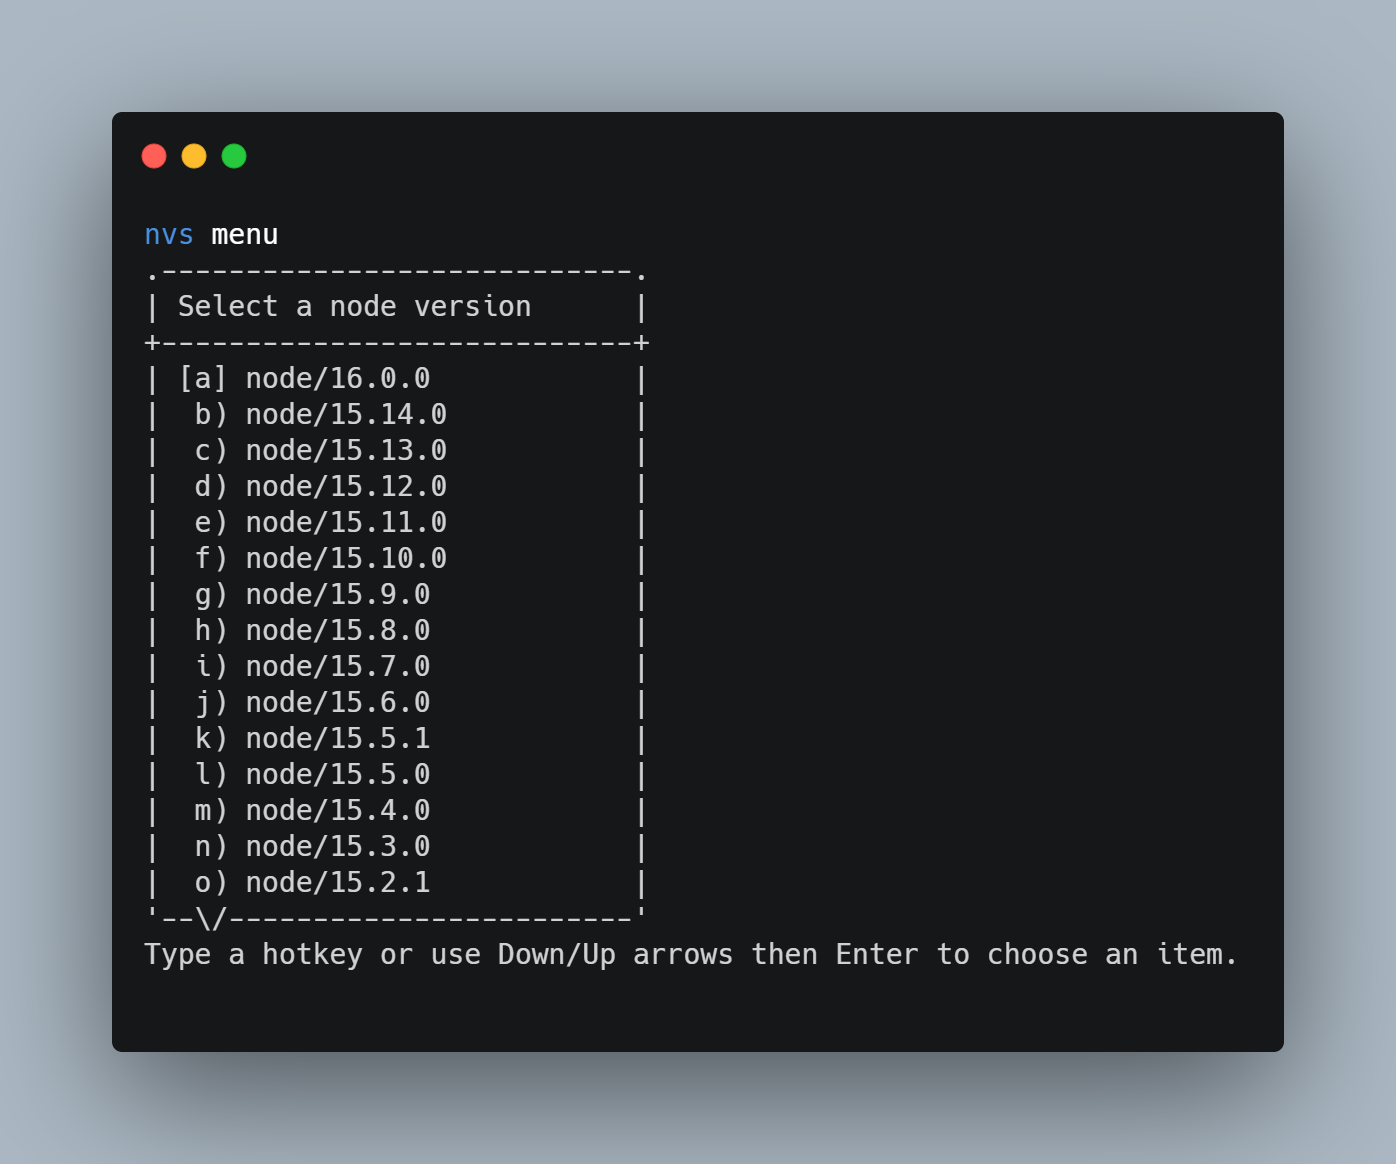
PS: Try and scroll to the bottom to see the oldest versions of NodeJS.
After typing the nvs menu command, you will be asked to select the node version you want. In this instance I selected version 16.
Typing the nvs command again
Once you have been prompted and have a version installed, typing nvs menu will bring you a new interface, but this time it will be to select the version(s) you added, download a new version, or to use no version.
Further Commands
nvs use [version number]: allows you to switch to the version of Node you want to use.nvs add [version number]: allows you to add a version.nvs rm [version number]: allows you to remove any version you already have installed on your machine.nvs --help: lists all the commands available for nvs.
Conclusion
That’s all for now! To recap, the primary reason why we might need different versions of Node is if we want to run a project that still runs an older version of Node. Alternatively, it might be that we need to run Node.js applications that require the recent or current version.
Won’t it be fun if you could go between the past and the future with just a few commands? 😊