How to set up Django admin with Python
Django offers a powerful, built-in admin interface. The admin can add, delete, and change objects in the database. These permissions and actions can also be customized in the application. It is useful to have an admin interface as it can be useful in applications that require a superuser role to look over the stored data.
To set up an admin interface you first need to have a Django App already set up. Learn how to do this here.
We will now create a superuser that will control and access the admin site. Run the command python manage.py createsuperuser in the directory where your manage.py is located.
A prompt will then appear that will ask for a username, email address, and password. This username and password will be used to log into the admin site.
Now, we will access the admin site. First, you have to start the development server and then run the python manage.py runserver command.
To access the admin site, add /admin/ to your domain name in your browser. If you have not modified the default Django project, you can access it by searching http://127.0.0.1:8000/admin/ in your browser.
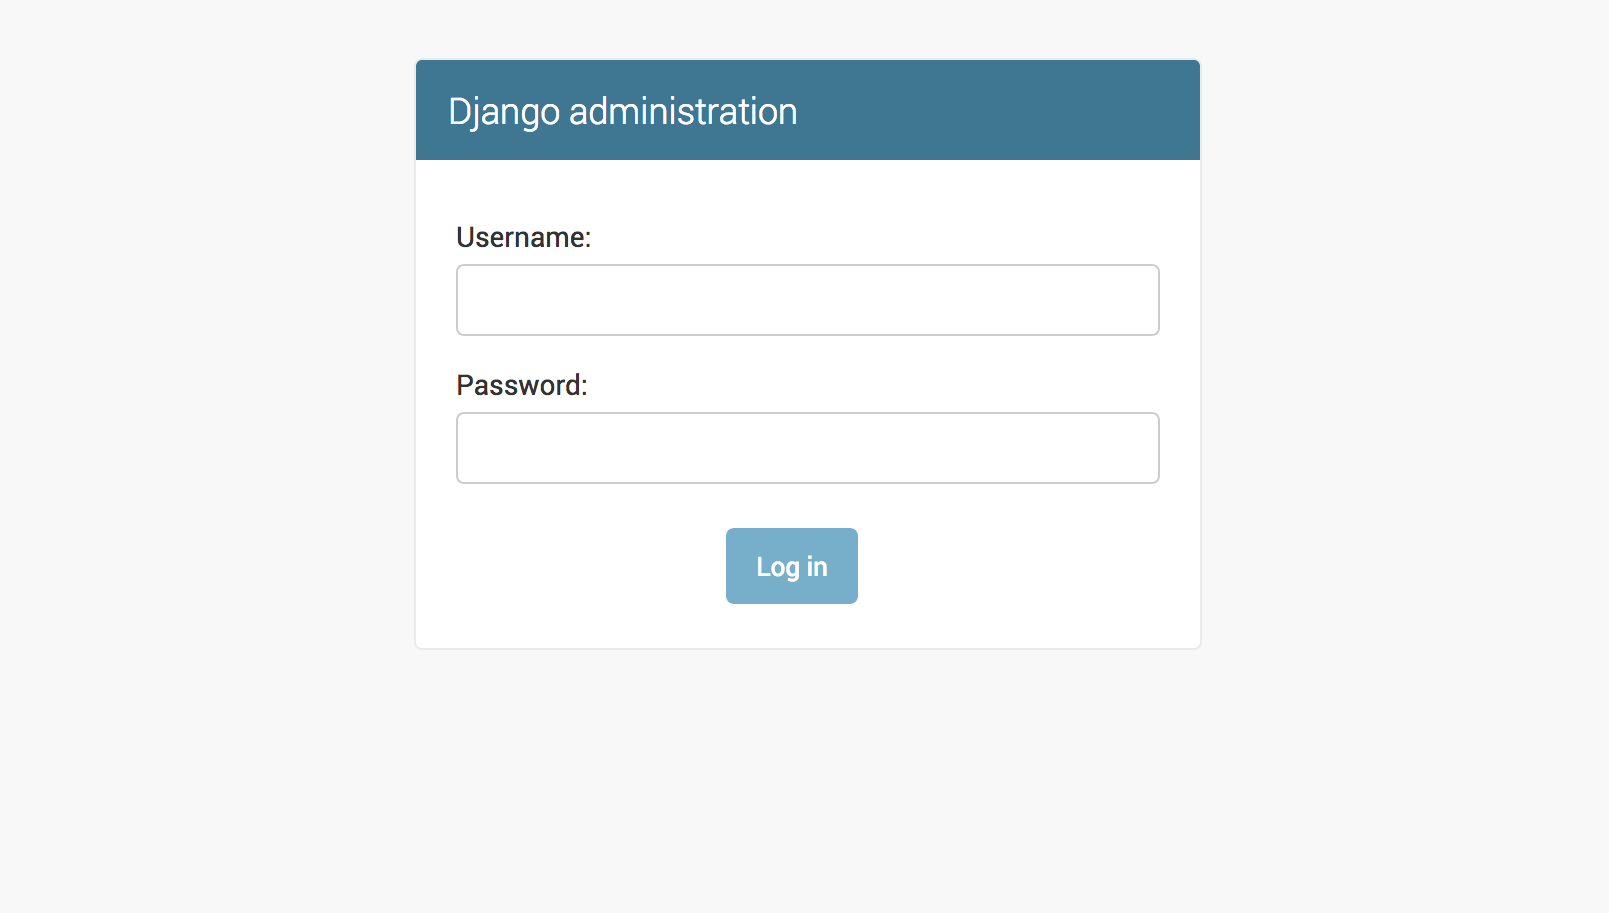
You will then be directed to the page below.
Enter the username and password you initially created when creating a superuser.
You will be then directed to the Django admin dashboard.
The dashboard is where you will be able to access all your models and the data stored in them. However, to view these models, you will have to first register them on the admin site.
We will now create a simple model (Coffee) and register it to the admin site. You will then have to modify models.py, which can be found in the app folder that was created when the startapp command was run during initialization of the project.
from django.db import models# Create your models here.class Coffee (models.Model):name = models.CharField(max_length=100)price = models.IntegerField()sugar = models.BooleanField()
We will now run the python manage.py makemigrations command, which will compile to the following output :
first_app/migrations/0001_initial.py
- Create model Coffee
Now, run the python manage.py migrate command.
The last thing is to register the model on the admin site. For that, you will now modify admin.py, which can be found in the same folder as models.py. We will first import the model and then register it.
from django.contrib import adminfrom .models import Coffee# Register your models here.admin.site.register(Coffee)
We can run our server again to access the admin site and login, but you should now see your registered model here.
You can select the model and add, create, and modify objects as you like.
Note: If you are not using the default Django project template, you will need to add
django.contrib.adminin its installed apps and dependencies.
