Life cycle
Explore the complete life cycle of service workers in Progressive Web Apps. Understand how registration, installation, activation, and fetch events work together to manage caching and offline support. Learn when and how to unregister service workers and clear caches for smooth app updates.
We'll cover the following...
The diagram below describes all the possible transitions for a service worker, from the moment of its registration to the final termination.
Register a service worker
First, we need to register the JavaScript file containing the logic about our service worker.
It is always a good rule of thumb to ensure that the target browser supports service workers. After all, “progressive” in PWA means that we can progressively enhance features if supported. Otherwise, we gracefully ignore them without disrupting the user experience.
During the registration phase, the whole process is canceled if an error occurs or the service worker file cannot be fetched.
However, this is not a big problem since the register method will be triggered again the next time the user loads the page. The browser can identify whether or not the SW is installed and call the method accordingly.
Once registered, a SW does not constantly remain active. The browser can unpredictably terminate and reactivate it again when an event needs to be triggered. That’s why if we need to persist a state used within the service worker, we should use IndexeDB or a similar solution.
Installing
In this phase, pre-fetch operations are typically executed. They aim to ensure that target assets are downloaded and made available in the SW cache. These assets are commonly static files (e.g., js, CSS) that represent the core-shell of our application. That means only the minimum files and styles should be available immediately to the user, even when offline.
This step only happens at the beginning of a SW lifetime or when a new version is available on the server.
Looking at the code, we can see that promises are widely used in the service workers’ context. caches.open() and cache.addAll() return promises.
event.waitUntil() accepts a promise and covers an important role: it tells the browser that some operation is still ongoing until the promise resolves or gets rejected. Otherwise, the browser can terminate the SW at any moment. That’s why we should not create any state in a service worker.
Even if just one file is not cached (in the snippet above, the ones defined in the urlsToCache array), the install step fails. This ensures that if a SW is installed, it contains all the predefined files in its cache.
That’s also why we should plan to cache only the strictly needed files in this phase and not the entire application upfront. These files will constitute the app shell of our PWA.
Idle
Once installed, the service worker delays activating until an older service worker no longer controls clients. This is necessary to ensure that only one version of the service worker is running at a time.
Once a new SW version is available and waiting for its activation, the user must close all the browser tabs where the old SW is running before being able to replace it with the new version. Simply refreshing the page won’t be enough, as the old SW would remain active while the new version is idle.
Activated
This step is triggered after the old service worker is gone (if we already had one installed), and the new one can be used instead. At this moment, old caches can be removed. We cannot do this in the installation step. Otherwise, the currently existing service workers that still use the old caches would behave unpredictably and might lead to errors.
The snippet below shows how to erase all the not-white-listed caches.
Fetch
Once the service worker is installed and activated, it can start intercepting all the requests and dispatch the response from the local cache if these have been previously cached.
There are many different caching strategies that we can implement at this stage. In the next chapter, you will see them in detail and learn which ones are better in each scenario.
Unregister a service worker
If we want to remove a SW, we must unregister it:
⚠️ Note! Unregistering a SW does not automatically purge its cache. We must invoke the
deletecache method:
The caches.keys() method returns the keys of the CacheStorage, which is an interface that represents the storage for the cache objects that the service worker can access.
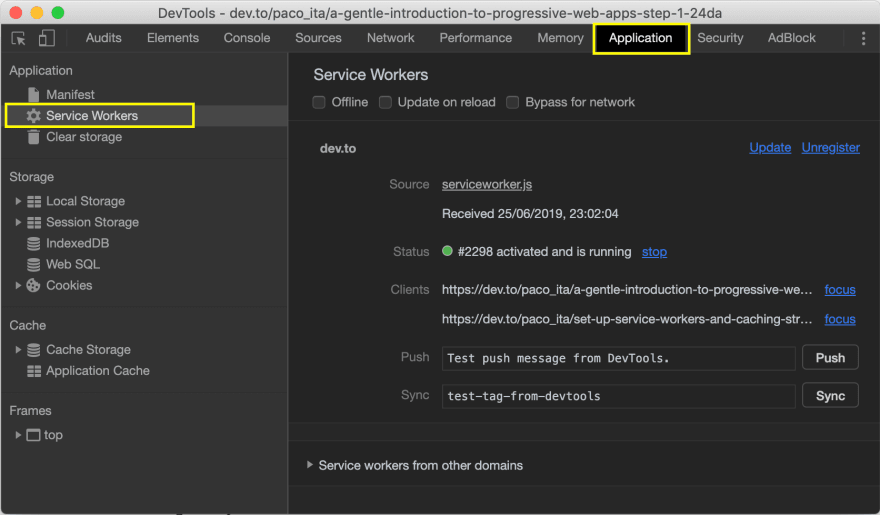
A service worker can also be uninstalled manually using the unregister link in the browser DevTools:
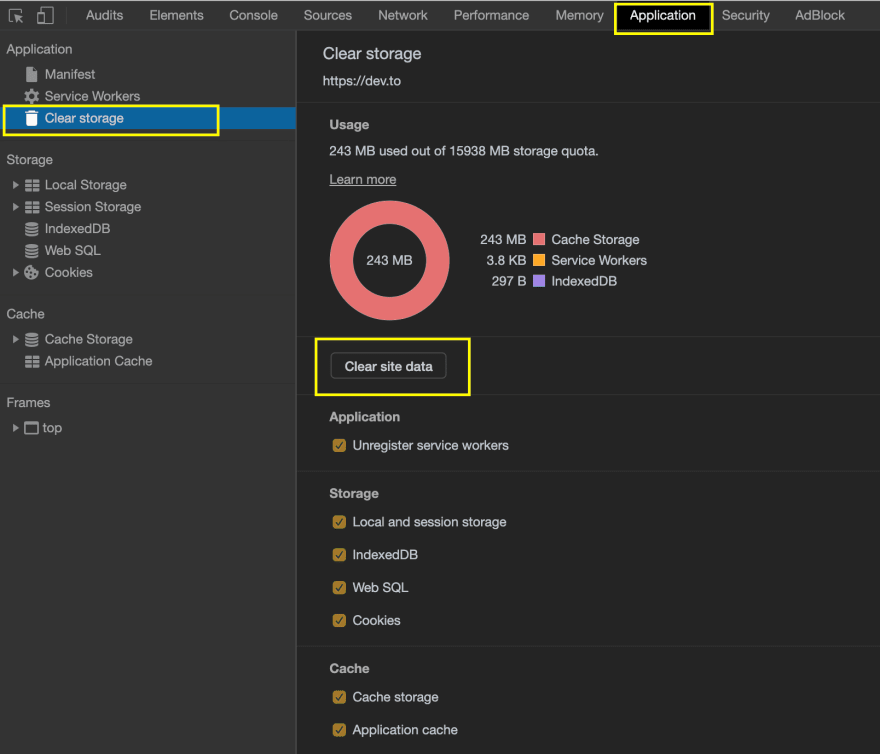
And, to remove all the related cached data: