This device is not compatible.
PROJECT
Image Compression Using DCT with Graceful Quality Degradation
In this project, we’ll learn to perform lossy compression of a grayscale image using the Discrete Cosine Transform (DCT) with a graceful compromise on visual quality.
You will learn to:
Implement an image compression algorithm from scratch.
Handle files for reading and writing image data.
Analyze the effects of lossy compression on image quality.
Visualize image data using Python libraries.
Skills
Image Compression
Image Manipulation
Image Visualisation
Prerequisites
Understanding data types in Python
Hands-on experience with Python
Technologies
NumPy
Python
Matplotlib
Project Description
There are two kinds of image compression: lossless and lossy. In both kinds, the objective is to reduce the required space to represent the image. In lossless image compression, there is no loss of information, so the image quality is not altered. However, in lossy image compression methods, some of the information is lost, and the quality of the image is affected. The challenge with lossy image compression is to select the most irrelevant information for our visual system and compromise it to gain compression. The lost information affects the image quality, but the visual quality does not suffer much. This is called graceful degradation of the image quality.
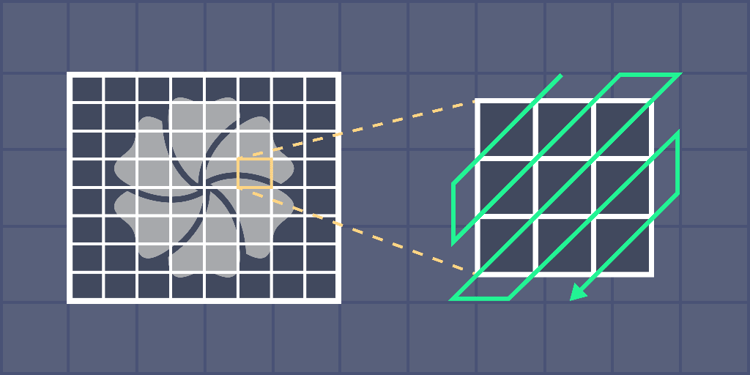
The image compression algorithm implemented in this project is lossy. We’ll take a block of size from a grayscale image and transform it into the frequency domain to select the information we want to discard or compromise. Every possible block is processed in the same way—in a serial manner. In this project, we’ll also see the extent to which the visual quality degrades as we compromise more and more information to achieve a higher compression ratio.
The task of producing compressed image data from a given image is achieved by an encoder. The decoder is responsible for reconstructing the image from the compressed data. The efficacy and compromise on quality is measured by comparing the original and reconstructed images.
The following diagram illustrates how the encoder and decoder interact:
Project Tasks
1
Getting Started
Task 1: Import Libraries
Task 2: Import the Image
Task 3: Pad the Image
2
Create the Image Encoder
Task 4: Implement the DCT Function
Task 5: Visualize the Image Blocks
Task 6: Apply DCT to the Image Blocks
Task 7: Quantize the Image Blocks
Task 8: Scan and Encode the Image Data
Task 9: Store Image Data in a File
3
Create the Image Decoder
Task 10: Read the Image Data from the File
Task 11: Decode the Image Data
Task 12: Implement the Inverse DCT Function
Task 13: Apply the Inverse DCT on the Image Blocks
Task 14: Obtain and Display the Final Image
4
Modulerization and Quality Comparison
Task 15: Modularize the Encoding Algorithm
Task 16: Modularize the Decoding Algorithm
Task 17: Test the Encoding and Decoding Modules
Task 18: Compute the Compression Ratio of the Compressed Images
Task 19: Plot the Compressed Images
Congratulations!
Subscribe to project updates
Atabek BEKENOV
Senior Software Engineer
Pradip Pariyar
Senior Software Engineer
Renzo Scriber
Senior Software Engineer
Vasiliki Nikolaidi
Senior Software Engineer
Juan Carlos Valerio Arrieta
Senior Software Engineer
Relevant Courses
Use the following content to review prerequisites or explore specific concepts in detail.

