Pull to Refresh
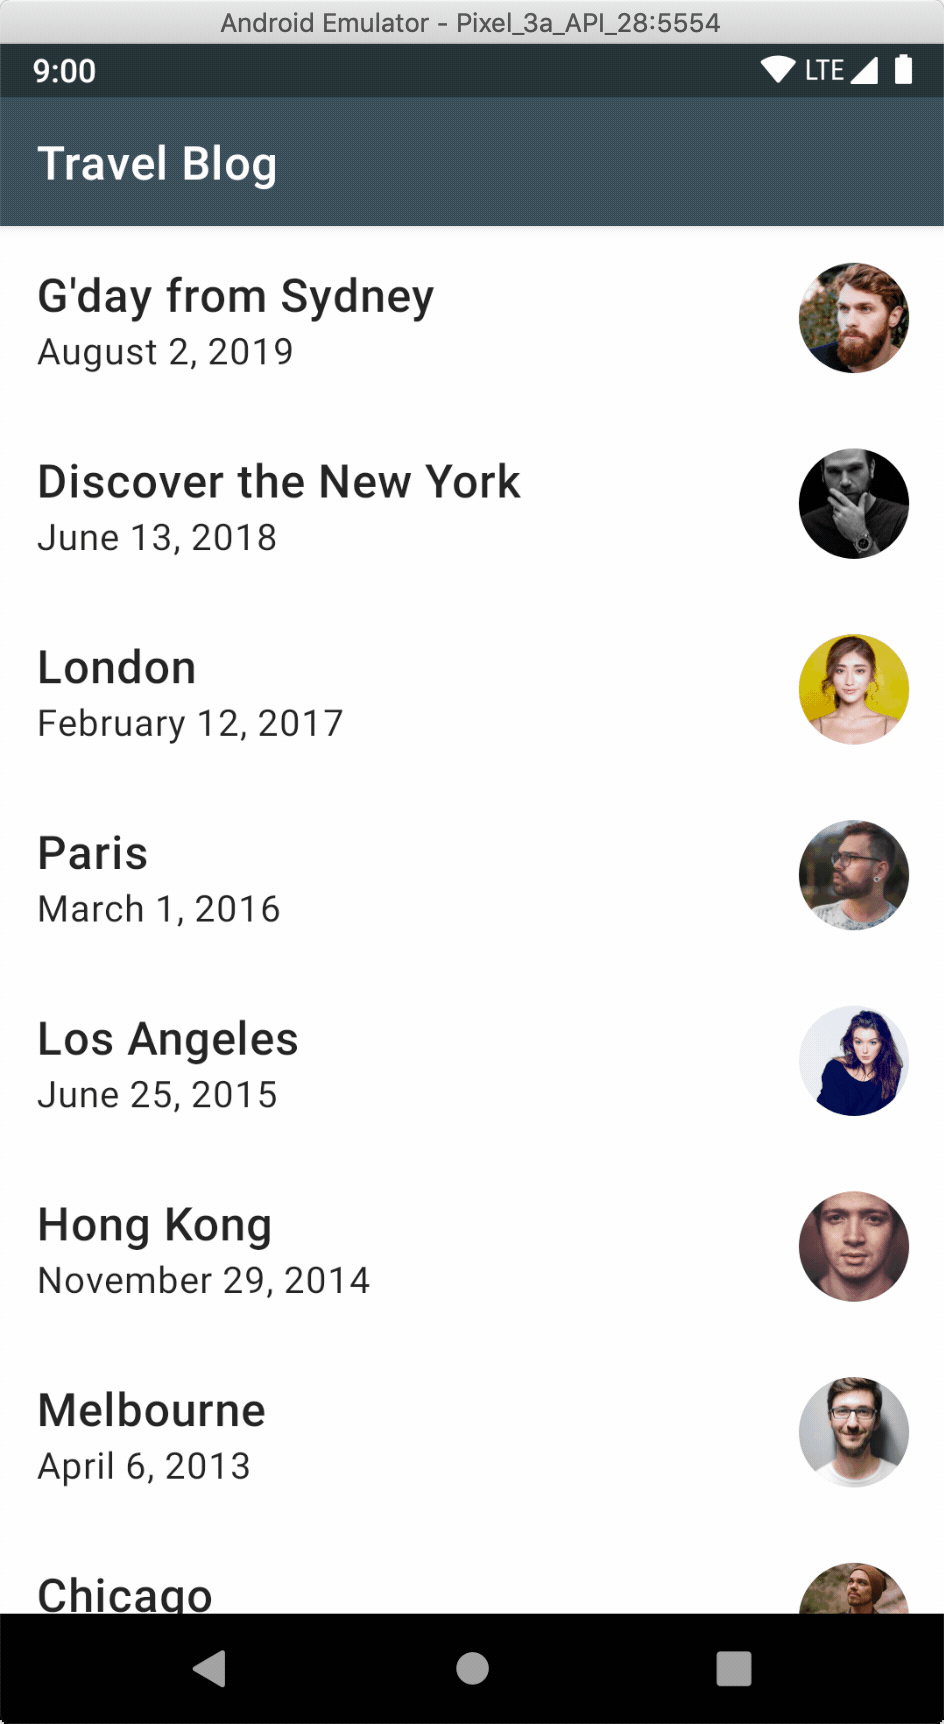
Explore how to implement pull-to-refresh in a Travel Blog list screen by using SwipeRefreshLayout. Learn to update dependencies, modify layouts, and bind refresh listeners in Java to reload data smoothly in your Android app.
We'll cover the following...
Swipe-refresh-layout
The pull-to-refresh layout (also known as swipe-refresh-layout) is available as a separate library, so in order to use it we need to update our dependencies in build.gradle file.
Next, open the activity_main.xml layout file and wrap the RecyclerView with SwipeRefreshLayout.
Finally, let’s bind SwipeRefreshLayout in the MainActivity and set the pull-to-refresh listener via the setOnRefreshListener method (1). When this listener is triggered, we can simply execute the loadData method to reload the data.
To make the loader indicator stay on the screen while data is loading, we can use the setRefreshing(true) method (2) and when the data loading has been completed we can use the setRefreshing(false) method (3) (4).
That’s all we need to implement a pull-to-refresh functionality.
Hit the run button to try it yourself.
package com.travelblog.adapter;

import android.view.*;
import android.widget.*;

import androidx.annotation.*;
import androidx.recyclerview.widget.ListAdapter;
import androidx.recyclerview.widget.*;

import com.bumptech.glide.*;
import com.bumptech.glide.load.resource.bitmap.*;
import com.bumptech.glide.load.resource.drawable.*;
import com.travelblog.R;
import com.travelblog.http.*;

public class MainAdapter extends ListAdapter<Blog, MainAdapter.MainViewHolder> {

    public MainAdapter() {
        super(DIFF_CALLBACK);
    }

    @NonNull
    @Override
    public MainViewHolder onCreateViewHolder(@NonNull ViewGroup parent, int viewType) {
        LayoutInflater inflater = LayoutInflater.from(parent.getContext());
        View view = inflater.inflate(R.layout.item_main, parent, false);
        return new MainViewHolder(view);
    }

    @Override
    public void onBindViewHolder(MainViewHolder holder, int position) {
        holder.bindTo(getItem(position));
    }

    static class MainViewHolder extends RecyclerView.ViewHolder {

        private TextView textTitle;
        private TextView textDate;
        private ImageView imageAvatar;

        MainViewHolder(@NonNull View itemView) {
            super(itemView);
            textTitle = itemView.findViewById(R.id.textTitle);
            textDate = itemView.findViewById(R.id.textDate);
            imageAvatar = itemView.findViewById(R.id.imageAvatar);
        }

        void bindTo(Blog blog) {
            textTitle.setText(blog.getTitle());
            textDate.setText(blog.getDate());

            Glide.with(itemView)
                    .load(blog.getAuthor().getAvatarURL())
                    .transform(new CircleCrop())
                    .transition(DrawableTransitionOptions.withCrossFade())
                    .into(imageAvatar);
        }

    }

    private static final DiffUtil.ItemCallback<Blog> DIFF_CALLBACK =
            new DiffUtil.ItemCallback<Blog>() {
                @Override
                public boolean areItemsTheSame(@NonNull Blog oldData,
                                               @NonNull Blog newData) {
                    return oldData.getId().equals(newData.getId());
                }

                @Override
                public boolean areContentsTheSame(@NonNull Blog oldData,
                                                  @NonNull Blog newData) {
                    return oldData.equals(newData);
                }
            };
}
The next lesson will explain how to add a click listener for the list item.