Displaying a simple list using data and props in VueJS
In the first two shots of this series, I wrote about ‘Getting started with Vue’ and ‘Creating a Vue project’; now, let’s see some examples of what we can do with Vue.
First of all, what are data and props? Data is used to define properties in a particular component. In an SFC, data is a function that returns a set of properties that has been defined in the function.
If we wanted to add a text property to our App.vue component, we would do it using data as shown in the script:
export default {
  name: 'app',
  data: function () {
    return {
      text: "Vue is awesome"
    }
  },
  components: {
    HelloWorld
  }
}
Accessing this text property, that we have just defined in the template, would require us to use a data binding technique known as Interpolation.
To display the content of text in a template, add a paragraph tag to the template in App.vue:
<p>Text: {{ text }} </p>
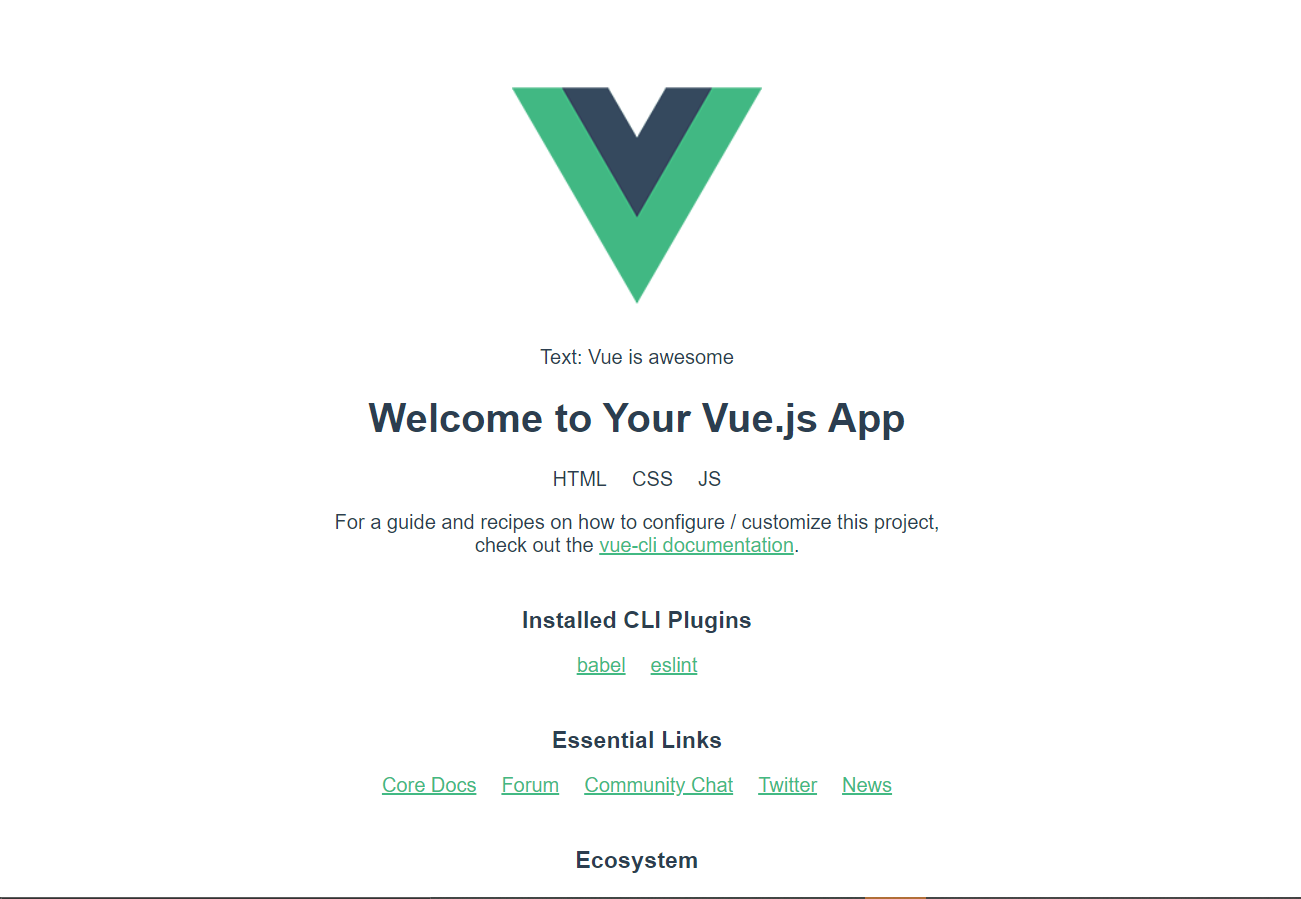
Now, run the application using the npm run serve command in the command line interface. The text gets displayed just under the Vue logo.
- Passing data to another component.
This is where props come in; with props, we can define a property in one component and then pass it to another component. Let’s try passing an array of basic web technologies from the main component (App.vue) to the child component (HelloWorld.vue).
Now, let’s define another property (web) in the data
export default {
  name: 'app',
  data: function () {
    return {
      ...
      web: ['HTML', 'CSS', 'JS']
    }
  },
  components: {
    HelloWorld
  }
}
This new property web, is an array of strings that we’re going to pass to the HelloWorld component, which we already have registered in the App component.
In the template, notice that we have already nested the HelloWorld component in the parent div, and that data is being passed to it from the app component. This is part of the default Vue landing page setup:

But, we are going to pass another data as a prop and receive it in the HelloWorld component using the v-bind directive. The v-bind directive is a built-in Vue directive that allows us to bind to any data we are passing, as long as the data can be dynamic.
Still, in the template section of the App component, modify the
<HelloWorld msg="Welcome to Your Vue.js App" v-bind:web="web"/>
Notice that the content of msg is specified when passing it as a prop to the HelloWorld component, in a case as such the v-bind is not needed.
The App component’s template and script should now look like this:
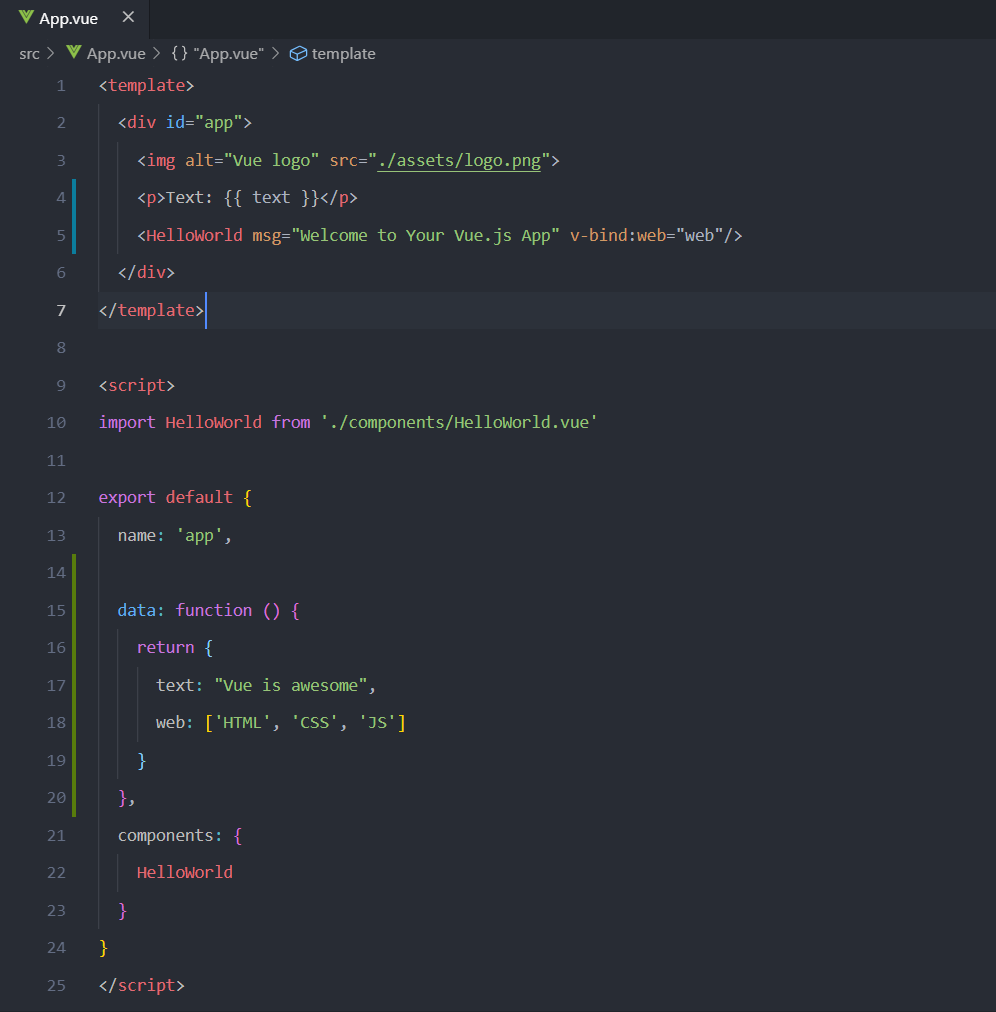
Now, to receive the newly passed prop in the HelloWorld component, open up the component and, in the script section, specify the name of the prop you are receiving (the name after the v-bind:). In this case, the name of the prop is web. Also, Vue requires us to specify the data type which is Array. The script section should look like this:
<script>
export default {
  name: 'HelloWorld',
  props: {
    msg: String,
    web: Array
  }
}
</script>
Now, we can access the web prop in the HelloWorld component. To display it as a list in the template, we will use another directive called v-for. The v-for directive is used to iterate through and render a list of items based on an array. The v-for directive requires a special syntax in the form of item in items, where “items” is the source data array and “item” is an alias for the array element being iterated on. We can then use the interpolation technique to display each item.
Add the line below anywhere in the template of your HelloWorld component.
<li v-for="item in web">{{item}}</li>
Now, you may get a warning in your editor saying elements in iterations expect to have a v-bind:key directive. What this means is that each item in the list requires a unique identifier in order to track them; so, we are going to add an index and bind the key to the index. Modify the line to look like the following:
<li v-for="(item, index) in web" v-bind:key="index">{{item}}</li>
Refresh your app in the browser and you should see both the text and the web list.
And that’s it, awesome!
So far we have been able to:
- Set up the development environment for Vue.
- Create a new Vue project.
- Run our application using npm.
- Look at the structure of a Vue project and a single-file component.
- Fefine property in an SFC.
- Pass a property as props between two components.
I am transitioning to Vue js myself, so I do this to share what I am learning and to document my progress. In the next part of this, I am going to take on directives, both in-built and custom.
Cheers.