AI-powered learning
Save this course
The Complete Guide to Spring 6 and Spring Boot 3
Gain insights into Spring 6 and Spring Boot 3, exploring dependency injection, Spring MVC, JDBC, and AOP. Discover how to create robust applications with inversion of control.
4.7
142 Lessons
13h 30min
Updated 3 months ago
Join 2.9 million developers at
Join 2.9 million developers at
LEARNING OBJECTIVES
- Understand the basic concepts of the Spring Framework
- Learn how to use Spring Boot to kickstart the development process
- Interact with databases using Spring's support for JDBC and JPA
- Learn the Spring MVC architecture
- Use AOP for implementing cross-cutting concerns in Spring
- Implement unit testing in the Spring framework
Learning Roadmap
1.
Introduction
Introduction
Get familiar with Spring, its evolution, core concepts, modular architecture, and sustained popularity.
2.
Spring Basics
Spring Basics
Get started with creating and managing Spring projects and dependencies using Spring Boot.
3.
Spring In-depth
Spring In-depth
13 Lessons
13 Lessons
Master bean management and lifecycle techniques, dependency injection, and Spring configurations.
4.
Spring Boot
Spring Boot
6 Lessons
6 Lessons
Enhance your skills in Spring Boot with configurations, REST services, Developer Tools, Actuator, and MVC comparison.
5.
Spring JDBC
Spring JDBC
9 Lessons
9 Lessons
Solve problems in Spring JDBC for seamless database operations, queries, and customization.
6.
Spring Data JPA
Spring Data JPA
9 Lessons
9 Lessons
Focus on utilizing JPA for streamlined CRUD operations, entity management, and database connectivity.
7.
Spring REST Fundamentals
Spring REST Fundamentals
8 Lessons
8 Lessons
Explore Spring's REST capabilities, JSON data binding, Postman usage, and effective REST API design.
8.
Spring REST Advanced Operations and Error Management
Spring REST Advanced Operations and Error Management
9 Lessons
9 Lessons
Step through advanced REST operations, error handling, and Spring Data REST customization.
9.
Database Relationships in Spring
Database Relationships in Spring
9 Lessons
9 Lessons
Walk through creating and managing various database relationships using Spring Boot and JPA.
10.
Spring Aspect Orientated Programming (AOP)
Spring Aspect Orientated Programming (AOP)
10 Lessons
10 Lessons
Break apart Spring AOP concepts, creating modular, maintainable, and secure applications.
11.
Configuring a Basic Enterprise Web Application
Configuring a Basic Enterprise Web Application
8 Lessons
8 Lessons
Break down the steps to configure a basic enterprise web application using Spring Boot.
12.
Spring MVC Fundamentals
Spring MVC Fundamentals
11 Lessons
11 Lessons
Deepen your knowledge of Spring MVC architecture, components, configuration, controllers, views, models, and form handling.
13.
Spring MVC Advanced Concepts
Spring MVC Advanced Concepts
11 Lessons
11 Lessons
See how it works with advanced Spring MVC concepts, form tags, validation, and custom configuration.
14.
Unit Testing in Spring
Unit Testing in Spring
13 Lessons
13 Lessons
Build on key practices in unit testing within Spring using JUnit, Mockito, and Spring Boot.
15.
Interview Questions
Interview Questions
11 Lessons
11 Lessons
Learn how to use key Spring and Spring Boot features to enhance application development.
Certificate of Completion
Showcase your accomplishment by sharing your certificate of completion.
Complete more lessons to unlock your certificate
Show License and Attributions
Developed by MAANG Engineers
ABOUT THIS COURSE
Expertise in the Spring framework is highly sought after and will help open up a lot of job opportunities for you. Here you will get familiar with Spring 6 and Spring Boot 3 to add dependency injection into your applications.
You will start with the basics of Spring like dependency injection, auto-wiring, and constructor injection. After the basics are out of the way you’ll move onto Spring Boot, Spring MVC, Spring JDBC, and Spring Data JPA.
Lastly, you’ll delve into Spring’s support for AOP, unit testing, and the MVC architecture. By the end of this course you will have a wide set of tools to work with to create applications that have dependency injection and inversion of control.
ABOUT THE AUTHOR

DataJek
A bay area tech outfit, throwing lots of good ideas on the wall to see what sticks!
Trusted by 2.9 million developers working at companies
A
Anthony Walker
@_webarchitect_
E
Evan Dunbar
ML Engineer
S
Software Developer
Carlos Matias La Borde
S
Souvik Kundu
Front-end Developer
V
Vinay Krishnaiah
Software Developer
Built for 10x Developers
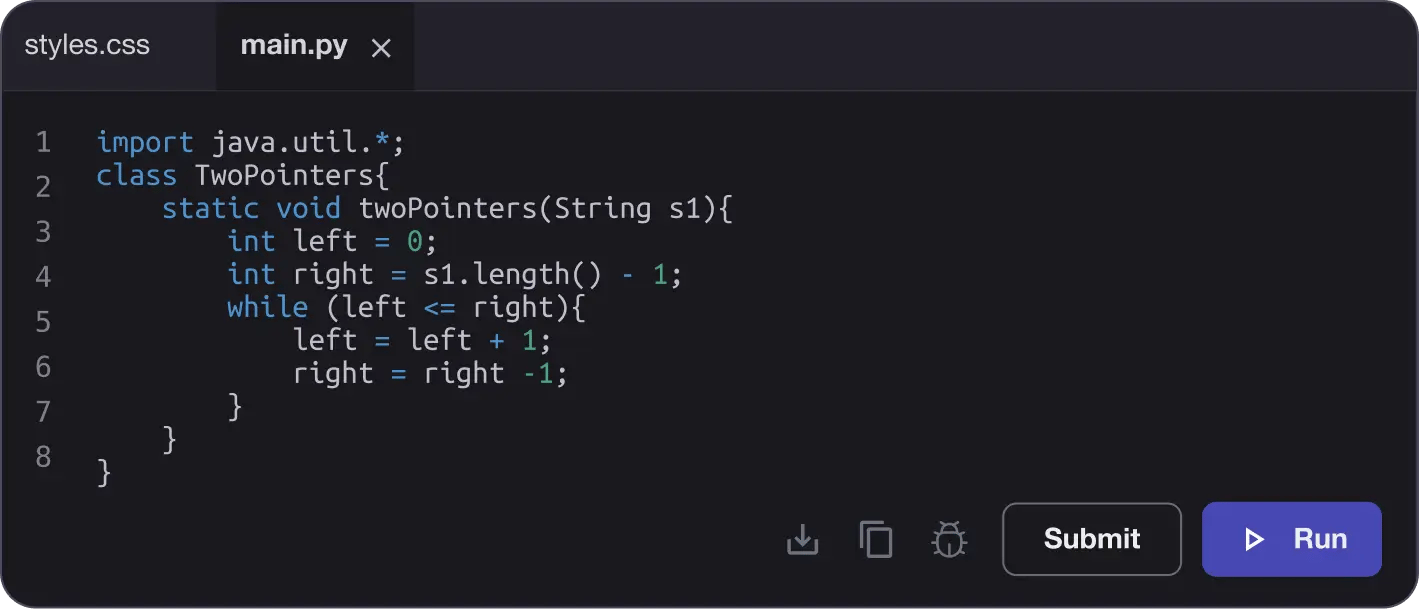
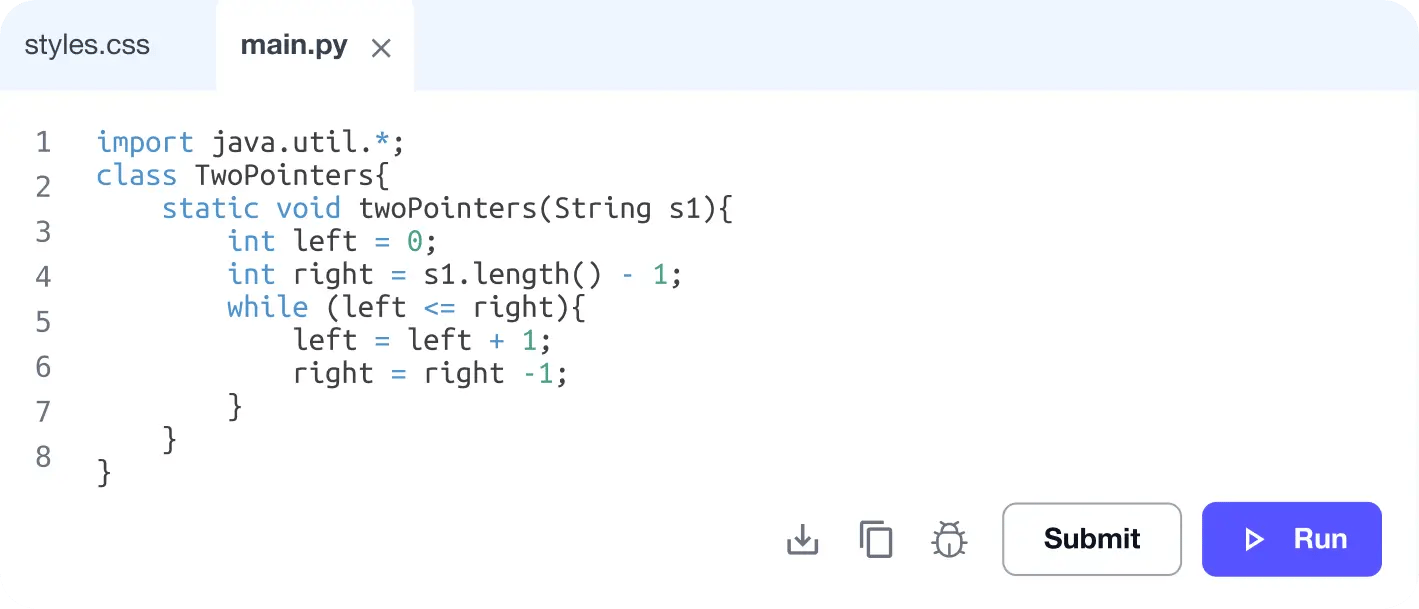
No Passive Learning
Learn by building with project-based lessons and in-browser code editor
Personalized Roadmaps
The platform adapts to your strengths & skills gaps as you go
Future-proof Your Career
Get hands-on with in-demand skills
AI Code Mentor
Write better code with AI feedback, smart debugging, and "Ask AI"
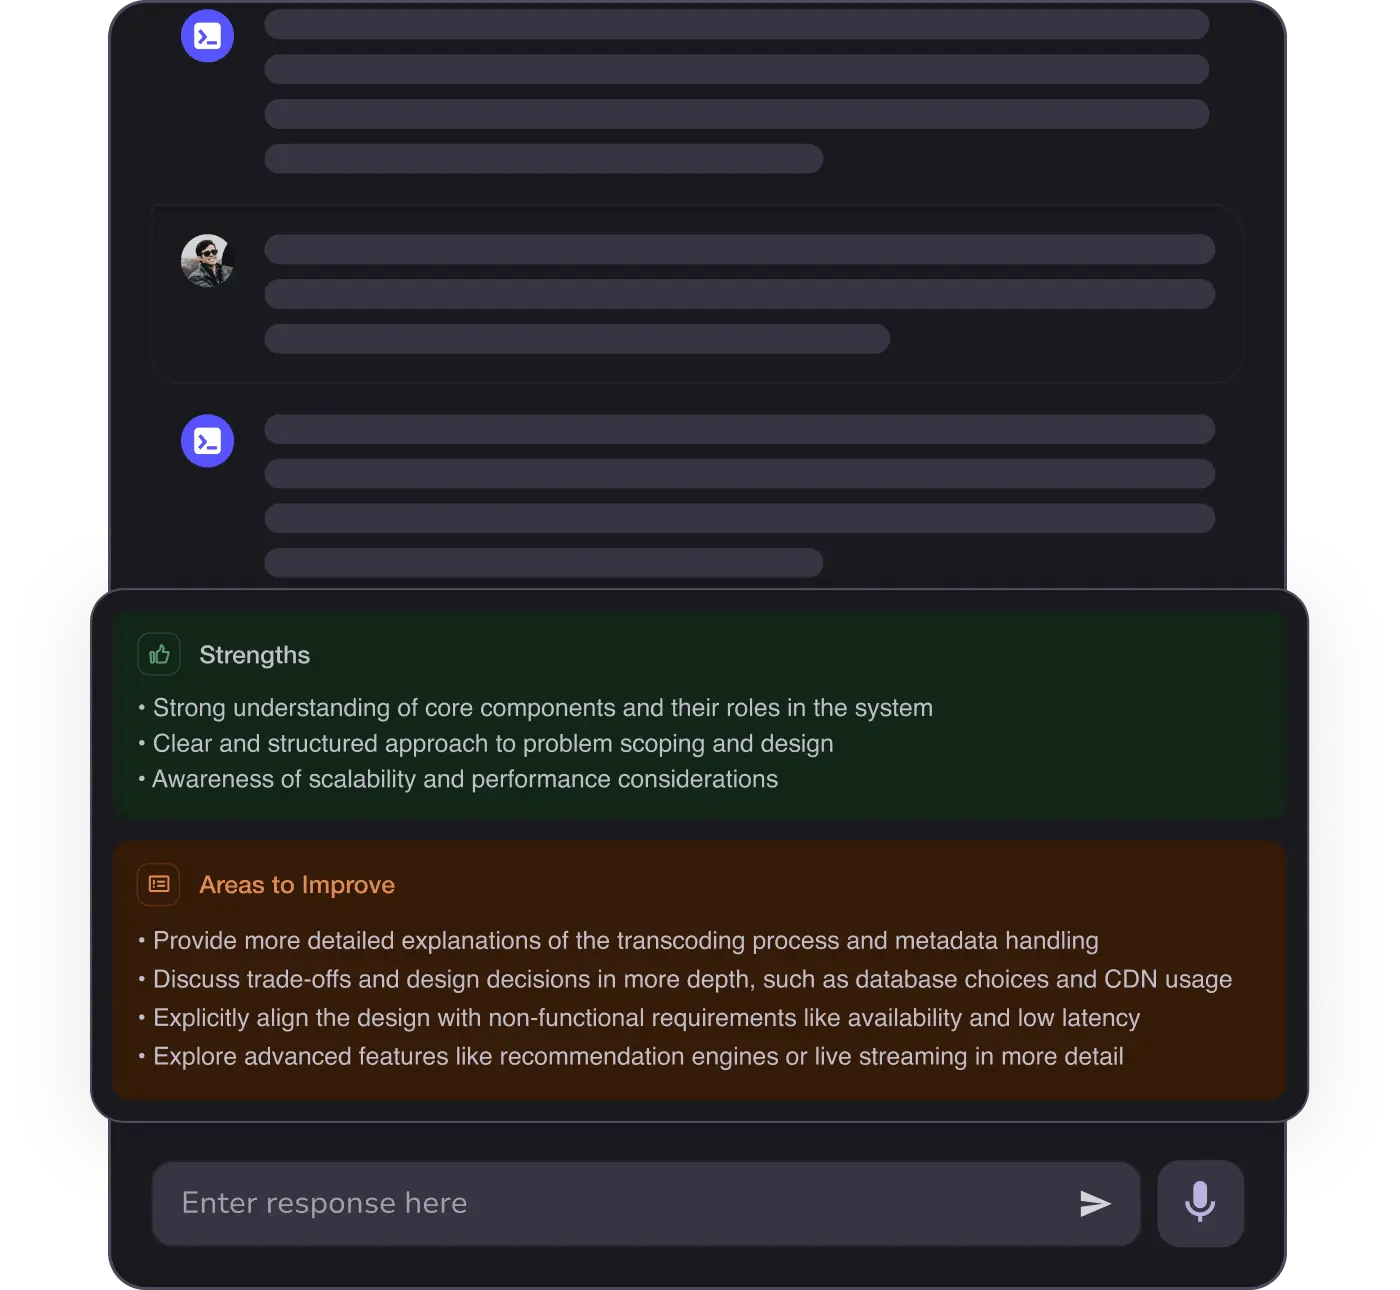
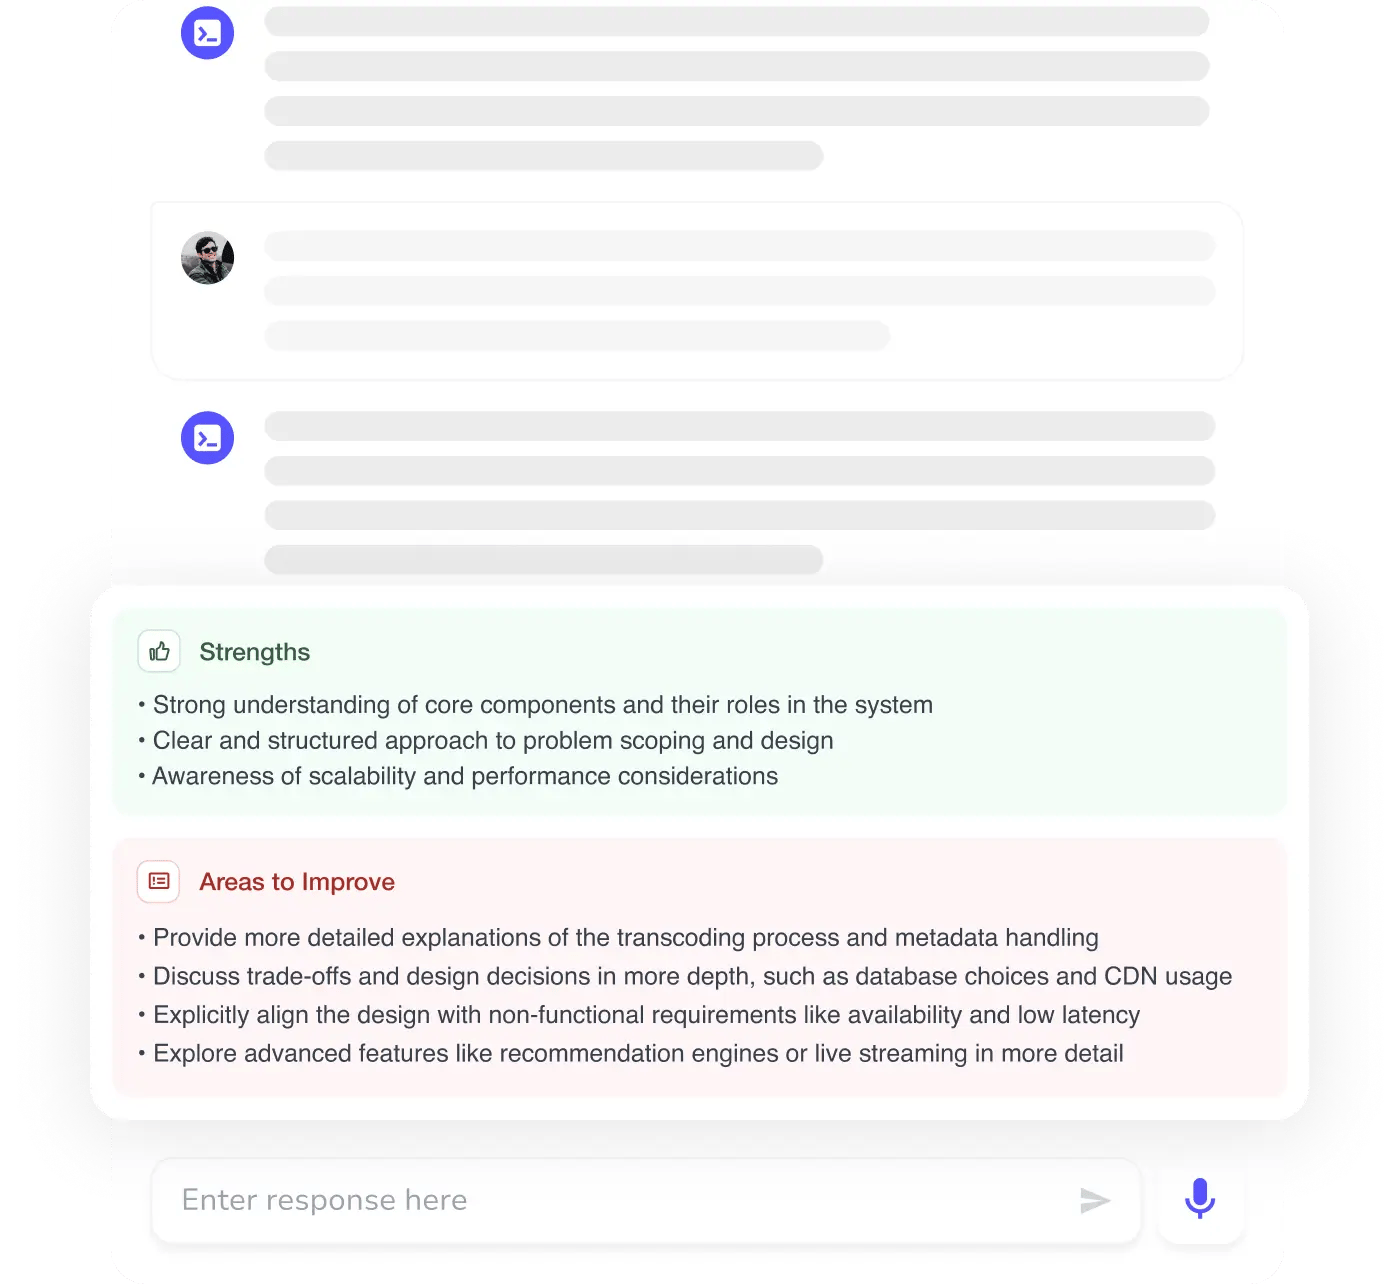
MAANG+ Interview Prep
AI Mock Interviews simulate every technical loop at top companies
Free Resources
